CARVIN
Easy5 - 10 min6 steps·Original on iFixit ↗

2004-2008 Ford F150 Tail Light Bulb Replacement

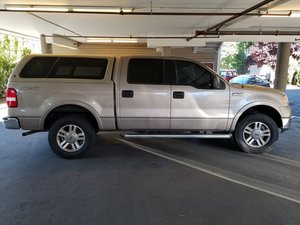
This is a quick 6 step guide to replace the tail light on a 2004-2008 Ford F-150. This guide shows the replacement of the passenger side tail light, but the driver's side does follow the same procedure. This repair does not require any background knowledge or contain any serious hazards.

Tools (3)

Step-by-step instructions

Step 1 · photo 1
1
  • Park the vehicle on a level surface.
  • Turn the vehicle off.
  • If the vehicle is not turned off, there is a risk of electrocution upon removal of the tail light.
Step 2 · photo 1
2
  • Lower the tailgate.
Step 3 · photo 1Step 3 · photo 2Step 3 · photo 3
3
  • Use the 8mm socket wrench to remove both of the mounting bolts.
  • An 8mm crescent wrench can be used in place of the 8mm socket wrench.
Step 4 · photo 1Step 4 · photo 2
4
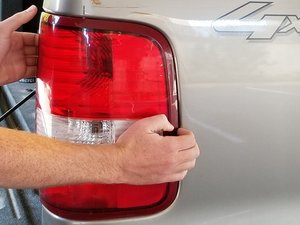
  • Remove the tail light by pulling the tail light housing straight back, away from the vehicle.
  • If the tail light housing is too difficult to remove use a thin, stiff piece of plastic as a pry bar to aid in removing the tail light housing.
  • If a pry bar is used, take caution to not scratch the paint of the vehicle.
Step 5 · photo 1
5
  • Twist the upper socket counter clockwise.
  • Pull back to remove the socket from the tail light assembly.
Step 6 · photo 1Step 6 · photo 2
6
  • Pull the bulb out of the socket.
  • When handling the replacement bulb, be careful to minimize contact with the bulb itself; as the oils from your hand can decrease the lifespan of the bulb.

Conclusion

To reassemble your device, follow these instructions in reverse order.

Guide content belongs to iFixit, license CC BY-NC-SA. Open original