CARVIN
Moderate7 min5 steps·Original on iFixit ↗

2014 Subaru Forester Headlight Replacement

Replacing headlight bulbs can be tricky, and since it is all done by hand (with no tools) it is easy to not understand what to pull/rotate. This guide will explain the exact steps needed to successfully remove and replace the headlight bulbs on a 2014 Subaru Forester entirely by yourself.

Parts (1)

Step-by-step instructions

Step 1 · photo 1
1
  • Make sure you have the correct replacement part. For the specified model, the '''H11 Headlight Bulb''' is the stock-standard replacement bulb (found at any automotive store).
Step 2 · photo 1Step 2 · photo 2Step 2 · photo 3
2
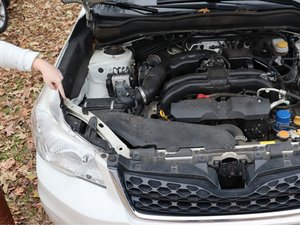
  • Open the hood of your car by locating and pulling the hood release found on the driver side dash just below (and to the left) of the steering wheel. Then move to the front grill of your car and pull the latch located under the Subaru symbol.
Step 3 · photo 1Step 3 · photo 2Step 3 · photo 3
3
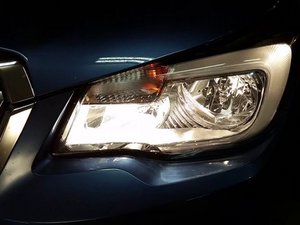
  • Move to the side that harbors the burnt-out headlight. Locate the headlight assembly which is positioned right behind the headlight itself.
Step 4 · photo 1Step 4 · photo 2
4
  • Reach inside the headlight assembly to find the base of the bulb. Push in the release tab ('''which is the indention found on the base below the blue tag'''), then move the power plug downward from the old bulb with above-moderate force.
Step 5 · photo 1Step 5 · photo 2
5
  • Grab the base of the old bulb and rotate it a quarter length '''counterclockwise''' and then you will be able to pull it straight out.

Conclusion

To reassemble your device, follow these instructions in reverse order.

Guide content belongs to iFixit, license CC BY-NC-SA. Open original

Замена фары Субару Форестер 2014 года. — Carvin Garage · Carvin