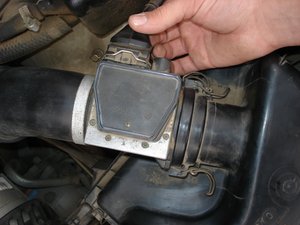
CARVIN
Easy10 min9 steps·Original on iFixit ↗

1985-1988 Volvo 740 Mass Air Flow (MAF) Sensor Maintenance

Tools (1)

Parts (3)

Step-by-step instructions

Step 1 · photo 1Step 1 · photo 2
1
  • First, disconnect the battery.
  • ***Always*** take the ***negative*** terminal off first, then the positive terminal.
  • ***General Tip***: After disconnecting the battery, let the car sit for about 10 minutes. This will allow any residual energy left in the system to settle and it is good practice for any job you are completing.
Step 1 · photo 1Step 1 · photo 2
1
  • Unlatch the two clasps, as outlined in the image.
  • Loosen the screw on the metal band, using a flathead screwdriver.
Step 2 · photo 1Step 2 · photo 2
2
  • Disconnect the electronic sensor from the MAF.
  • Press on the 2 latches, pulling the cable away from the sensor.
Step 3 · photo 1Step 3 · photo 2
3
  • Disconnect the rubber hose from the MAF.
  • Remove the MAF from the air filter housing.
Step 4 · photo 1
4
  • Steps 4-6 are for cleaning only.
  • Spray the MAF cleaner along the direction of travel, shown by the arrow on top of the sensor.
  • (Mass Air Flow sensor Cleaner)
Step 5 · photo 1Step 5 · photo 2
5
  • Clean the electronic coupling with an electronics cleaner.
Step 6 · photo 1Step 6 · photo 2
6
  • Inject conducting lubricant into the MAF sensor electronic coupling.
Step 7 · photo 1Step 7 · photo 2Step 7 · photo 3
7
  • Reattach the MAF to the air filter housing and the intake hose.
  • Tighten the screw on the metal band.
  • Latch the clasps on either side of the MAF.
Step 8 · photo 1
8
  • Reattach the electronic cable to the MAF.

Conclusion

To reassemble your device, follow these instructions in reverse order.

Guide content belongs to iFixit, license CC BY-NC-SA. Open original

Техническое обслуживание датчика массового расхода воздуха (MAF) Volvo 740 1985-1988 гг. — Carvin Garage · Carvin